
Images often arrive separately from XML: in a 1C archive, as relative paths, or as links. The photo rule must define both the image field and what happens when the file is missing in the next exchange.
- product images are uploaded to UMI.CMS;
- offer images are written to offers when configured;
- repeat import does not delete photos when the source temporarily lacks an archive;
- forced deletion is enabled only intentionally.
Where To Find It
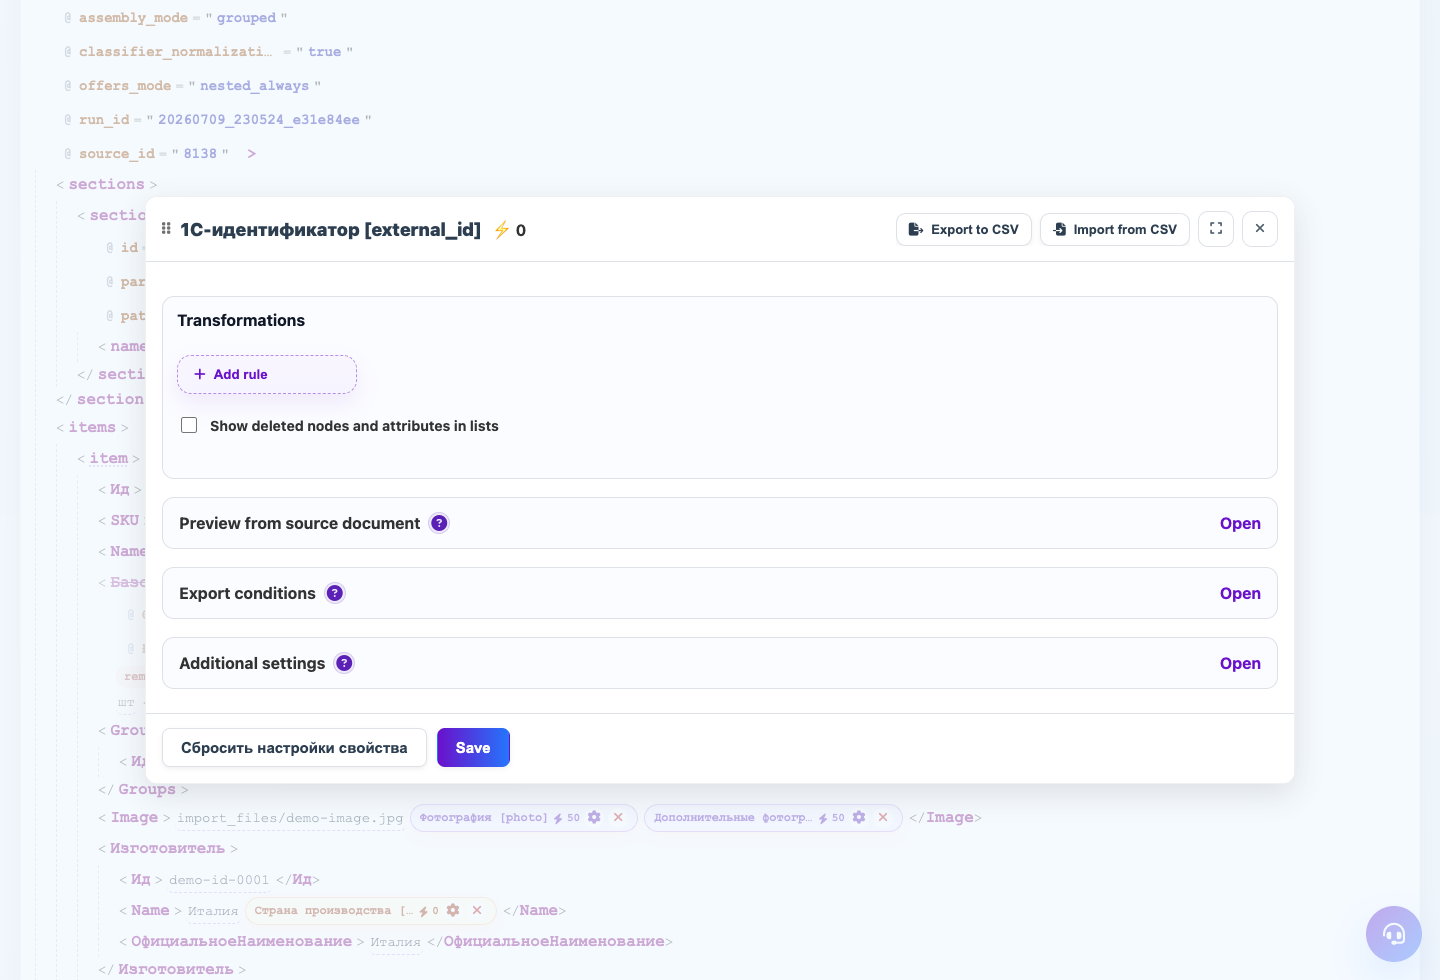
XML snapshot → image or file value → field settings → Additional settings.
Images can arrive as links, relative paths, or files from a source archive. Eofferix sends to UMI.CMS only files that it can find and prepare.
Binding An Image
In the snapshot, choose the image node and bind it to a UMI.CMS image field. Product and offer images can use different fields.
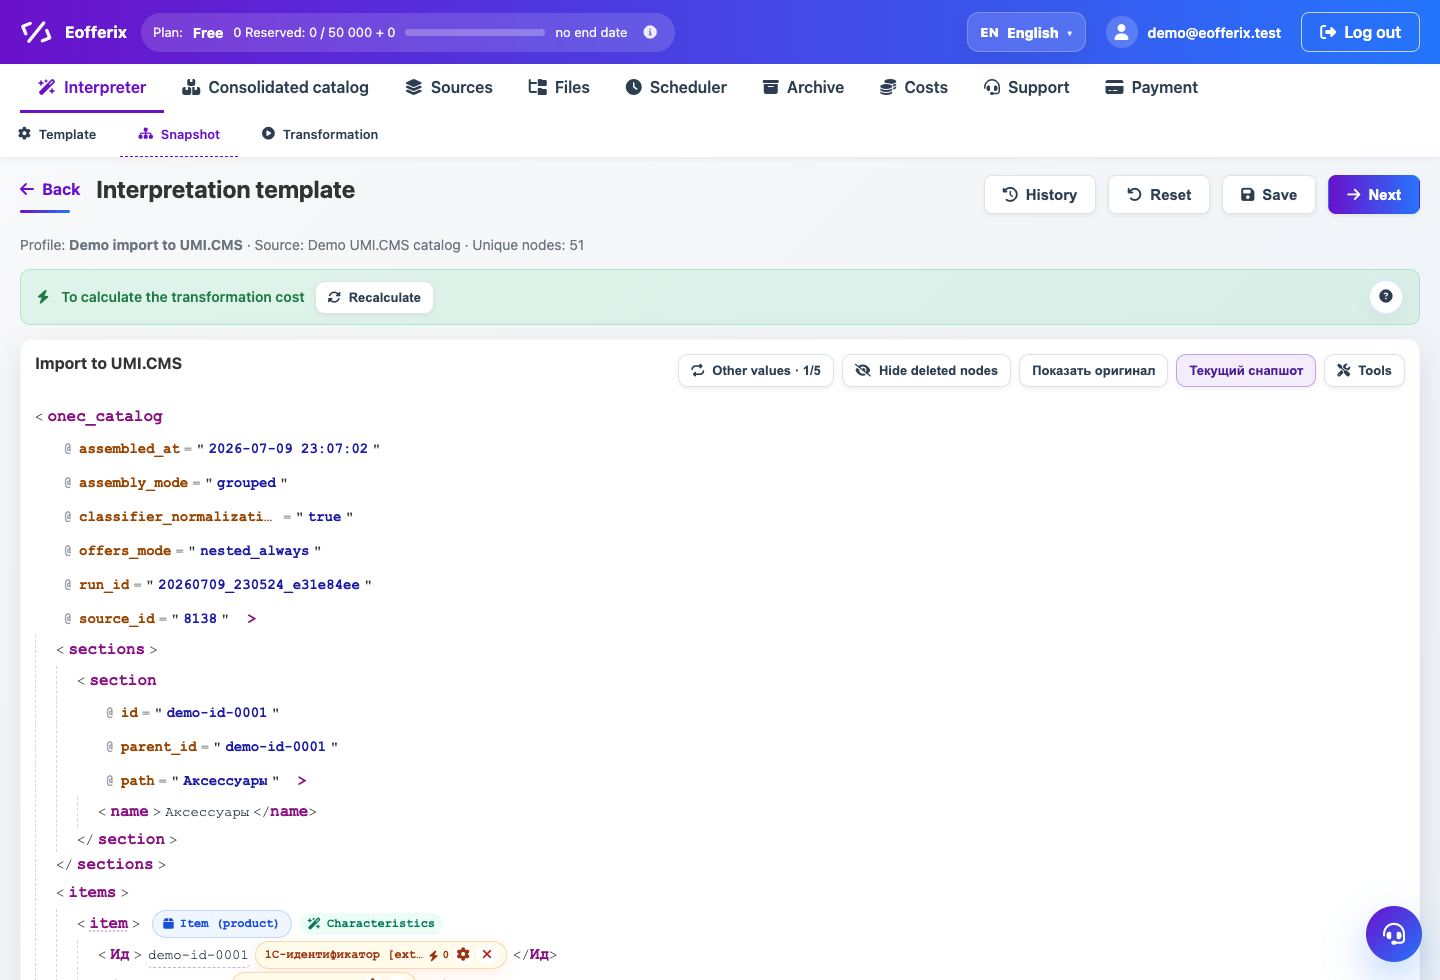
Image Preparation
Additional settings can prepare images for UMI.CMS. This is useful when the source sends files that should be converted before upload.
Avoid Accidental Removal
If the source temporarily sends no images, normal import should not remove existing images. Enable Force removal of images missing from export only when a missing image really means it must be deleted on the site.
Result Check
- open the product in UMI.CMS admin;
- check product and offer images;
- run a repeat import and make sure old files are not removed when forced removal is off.
Step-by-step Setup
- Find the node with the image path or link.
- Bind it to the needed UMI.CMS field: product image, preview, hover image, or offer image.
- If images arrive in an archive, confirm the source contains that archive or attachments.
- Enable image preparation for UMI.CMS if needed.
- Keep forced deletion of missing images disabled until you know the source always sends the full photo set.
- Run a test import and open the product in UMI.CMS admin.
How To Check The Result
- The product shows the main image and extra images if configured.
- The offer has its own image if it was present in the source.
- A repeat exchange without new images does not clear old photos.
- If forced deletion is enabled, the UI clearly warns about the risk.
Common Mistakes
- Treating a missing image in the next XML as a delete command.
- Enabling forced deletion on an incomplete 1C export.
- Binding an offer image to a product field.
- Not checking that the image archive is attached to the source.
What To Do Next
When fields, offers, and images are configured, choose a safe import scenario.