
Eofferix supports catalog exchange with 1C:Retail, 1C:Managing Our Company (UNF), 1C:Trade Management, 1C:ERP, and 1C:Complex Automation. If your configuration is different but can provide the catalog in XML, CML, JSON, YML, XLS, CSV, or XLSX, the exchange can also be configured.
The integration moves the catalog from 1C to a Bitrix site: sections, products, offers, properties, prices, stock, images, and files. In Eofferix, you choose the source, review the data structure, set loading rules, and send the prepared catalog to the site.
What Moves From 1C To Bitrix
| Data from 1C | Result in Bitrix |
|---|---|
| Product groups | Catalog sections. If no separate matching field is selected, sections are matched by the full name path. |
| Product items | Products in the selected catalog information block. |
| Product characteristics | Offers: sizes, colors, bundles, separate prices, and stock. |
| Attributes and properties | Product, offer, or section properties, depending on where you bind the field in the source structure. |
| Prices and stock | Values of the product or of a specific offer. |
| Images and files | Images and files for cards when they exist in the source or export archive. |
How To Set Up Catalog Exchange
- Create or choose the source with the 1C export.
- In the profile, choose the 1C-Bitrix template and check the site connection.
- Choose the Bitrix catalog where products should be loaded.
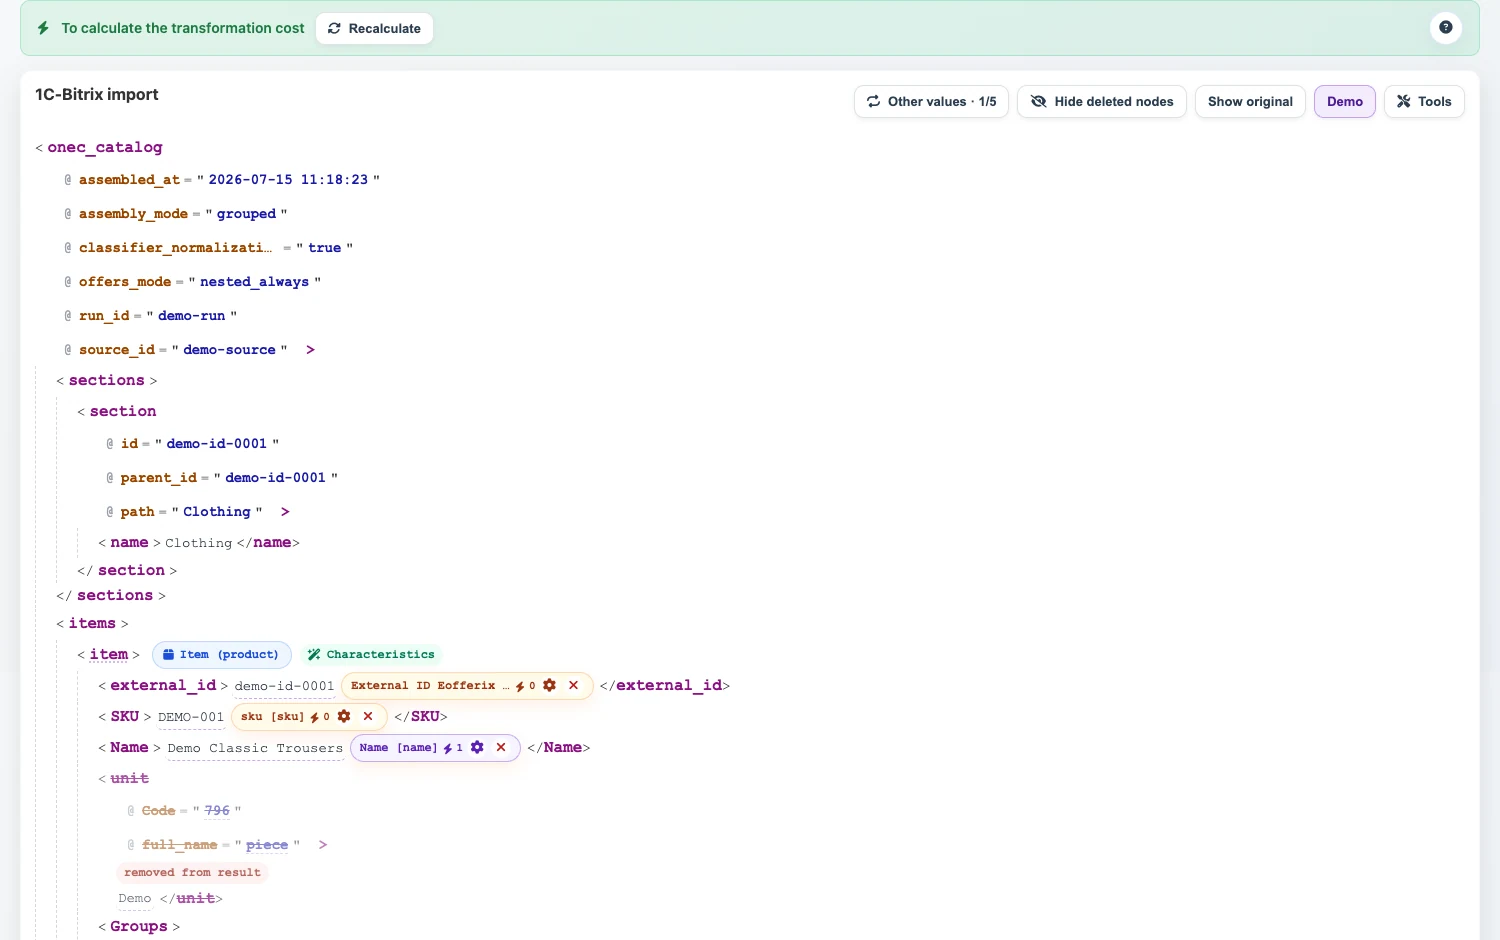
- In the source structure, mark where sections, products, offers, and properties are located.
- Bind fields: name, price, stock, images, section path, external ID, SKUs, and needed properties.
- Choose an exchange scenario: safe update, full source sync, update found items, or another suitable preset.
- Run a test export, check the result in the Bitrix admin panel, then run the full exchange.
Products And Offers
In Bitrix, products and offers are usually stored in different information blocks. That means the main product card data and the specific variant data must be bound separately.
For example, a T-shirt can be one parent product, while sizes S, M, and L are separate offers. The price, stock, color, size, and SKU of a specific size should go to the offer, not to the parent product.
| Data from 1C | Where to save it in Bitrix |
|---|---|
| External code of the main product card | Product external code. |
| External code of the size, color, or bundle | Offer external code. |
| Product SKU | SKU field, when you explicitly bind SKU in the source structure. |
| Specific offer SKU | Offer SKU field, when the SKU belongs to the variant. |
Separate Case: External Code For Orders
If the Bitrix site will later send orders back to 1C, keep the original 1C external code in the Bitrix external code field. In Bitrix, this field is usually called External code; older screens may also show it as XML_ID.
The rule is simple: the product external code from 1C must go to the product external code in Bitrix, and the offer external code from 1C must go to the offer external code in Bitrix. Do not use service values such as eofferix-* as the 1C external code.
| What is saved in Bitrix | What happens during order exchange |
|---|---|
| 1C external code on the product and offer | 1C sees the ordered line as its own product or product variant. |
| External code only on the parent product | An order for a specific size, color, or bundle may not match the needed variant in 1C. |
| External code replaced by an Eofferix service value | 1C does not recognize the product from its database without manual matching. |
| External code is empty | The order exchange can create an unknown line or require manual checking. |
If The Catalog Is Already Loaded
If products already exist on the site, do not start by deleting the catalog. First configure matching by a reliable field: external ID, SKU, or another combination that definitely matches the existing catalog.
Then Eofferix can update existing cards in place and fill the 1C external code without creating duplicates. Before the full run, use a test export and check one product with offers in the Bitrix admin panel.
Before The First Run
- the correct Bitrix catalog is selected;
- products and offers are marked separately;
- product, offer, and section properties are bound to the right places;
- images are available in the source or export archive;
- a repeated export updates found products and offers instead of creating duplicates;
- loading conditions do not filter out products and offers that must appear on the site.
More about matching fields: Bitrix export settings. More about test and full runs: running the export.