
The Eofferix plugin is installed on a WordPress site with WooCommerce enabled. It lets the site accept catalog data from an Eofferix profile and apply changes through WooCommerce mechanisms.
Before installation
- Check that WooCommerce is installed and enabled.
- Sign in to WordPress as an administrator.
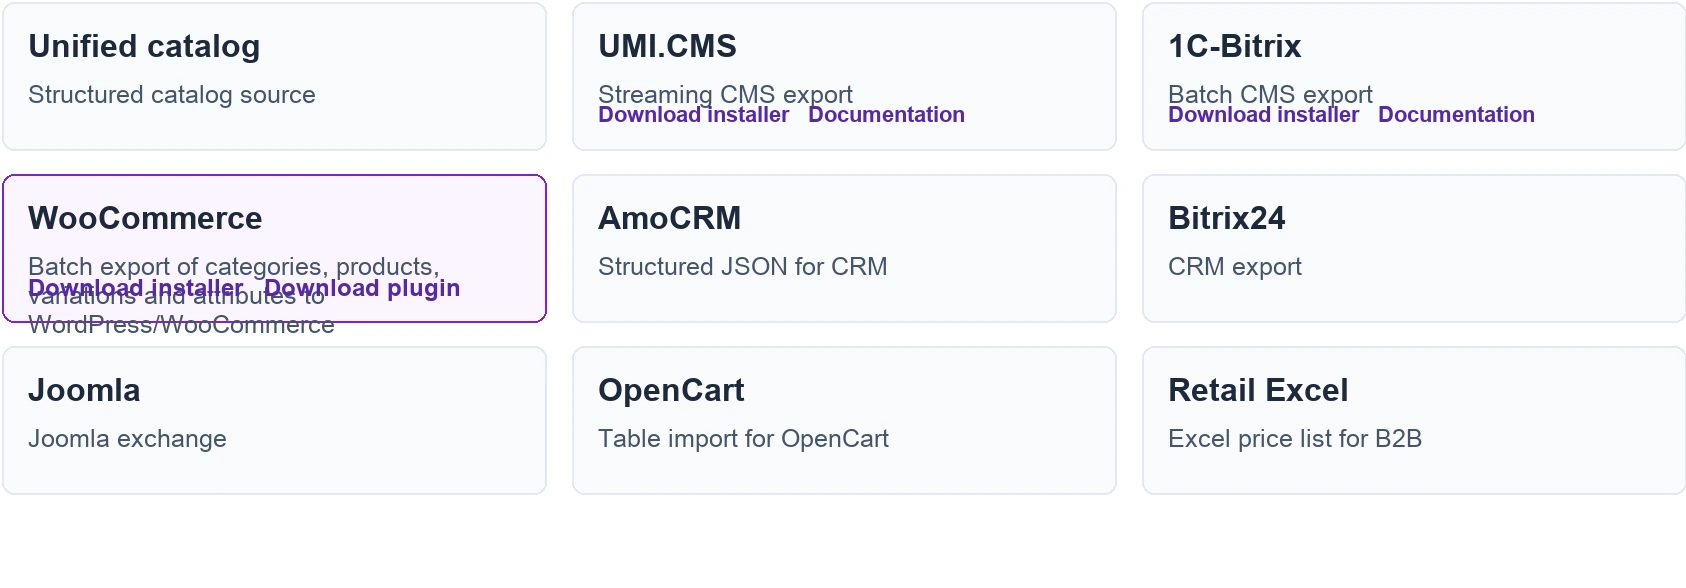
- Download either the installer archive or the plugin ZIP archive.
If the store is already live and accepts orders, it is wise to make a backup before installing or updating any WordPress plugin.
Which archive to download
| Archive | When to use it |
|---|---|
eofferix-woocommerce-install.zip | Use it if you prefer to upload an installer folder to the WordPress site root through FTP/SFTP or hosting file manager. |
eofferix-woocommerce-plugin.zip | Use it for the standard WordPress flow: Plugins, Add Plugin, Upload Plugin. |
Fast installation with the installer
- Download
eofferix-woocommerce-install.zip. - Unpack it and upload the
eofferix-woocommerce-installfolder to the WordPress site root, next to the mainindex.php. - Open the installer from the same browser session where you are signed in to WordPress. Example:
https://site.com/eofferix-woocommerce-install/install.php. - Wait for the successful installation and activation message.
- Delete the
eofferix-woocommerce-installinstaller folder from the site root.
Manual installation through WordPress
- Download
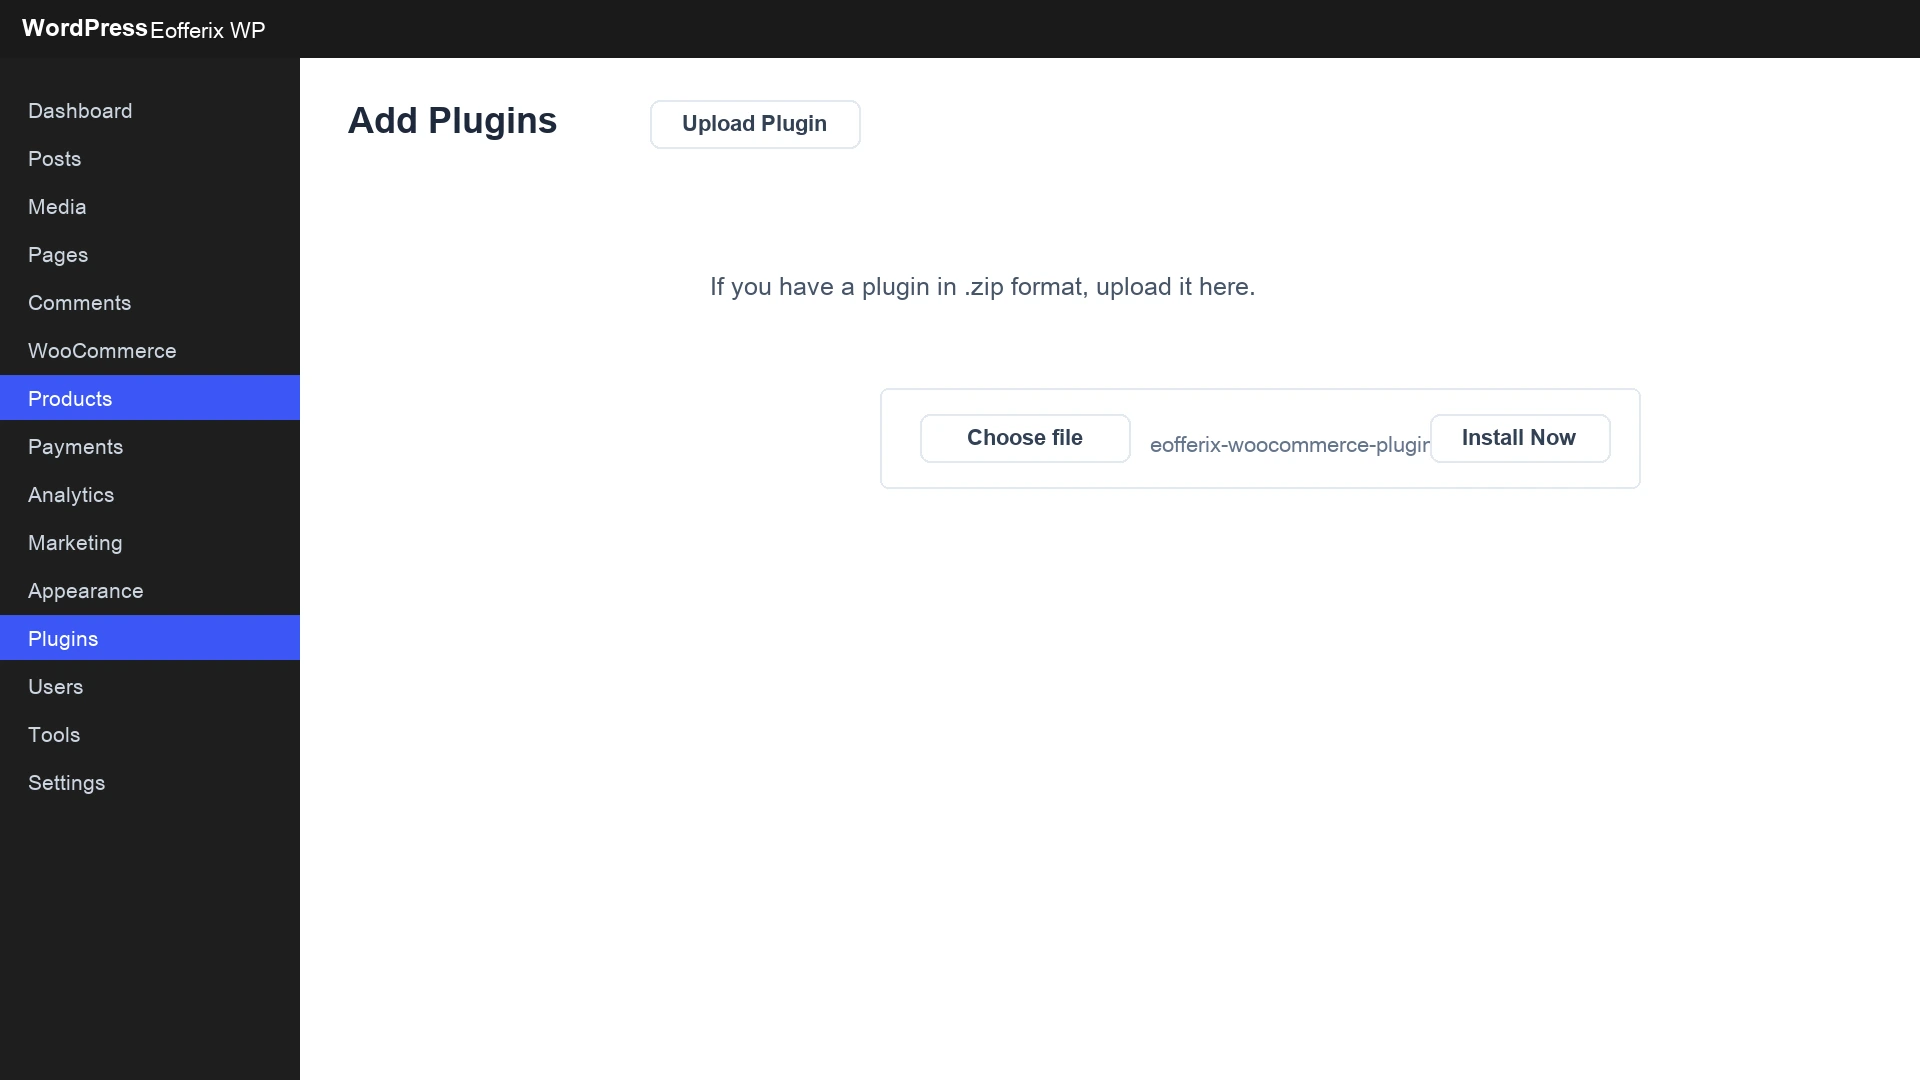
eofferix-woocommerce-plugin.zip. - Open WordPress admin, go to
Plugins -> Add Pluginand choose ZIP upload. - Upload
eofferix-woocommerce-plugin.zipand install it. - Activate the plugin.
- Open
WooCommerce -> Eofferixand check that the plugin page opens.
Connecting from Eofferix
After installation, open the WooCommerce profile in Eofferix, enter the site address and WordPress administrator credentials for the first connection check. If the check succeeds, Eofferix receives the store schema and then works through the installed plugin.

What to do after a successful check
- Save the Eofferix profile.
- Open the snapshot step and mark roles: category, product, offer / variation, attribute and image.
- Choose identification fields so repeat runs update products without duplicates.
- Bind required WooCommerce fields: name, SKU or external ID, price, stock, category and images.
- Run a test export and check the result in WordPress Products.
What counts as a successful installation
- The Eofferix plugin is installed and active in WordPress.
WooCommerce -> Eofferixopens in the WordPress menu.- The Eofferix profile connection check ends with a green success message.
- After the check, WooCommerce identification settings are available in the profile.
Common errors
| Situation | What to check |
|---|---|
| The installer URL opens 404. | Check that eofferix-woocommerce-install is uploaded to the site root next to index.php. |
The installer shows Forbidden. | The hosting provider may block PHP files in uploaded folders. Use manual WordPress ZIP installation. |
| WordPress asks you to sign in. | Sign in to WordPress in the same browser, then open the installer URL again. |
| WordPress does not accept the ZIP. | Make sure you upload eofferix-woocommerce-plugin.zip, not the installer archive. |
| Connection check fails. | Check the site URL, administrator rights, active plugin and REST API availability. Security plugins or firewalls can block service requests. |