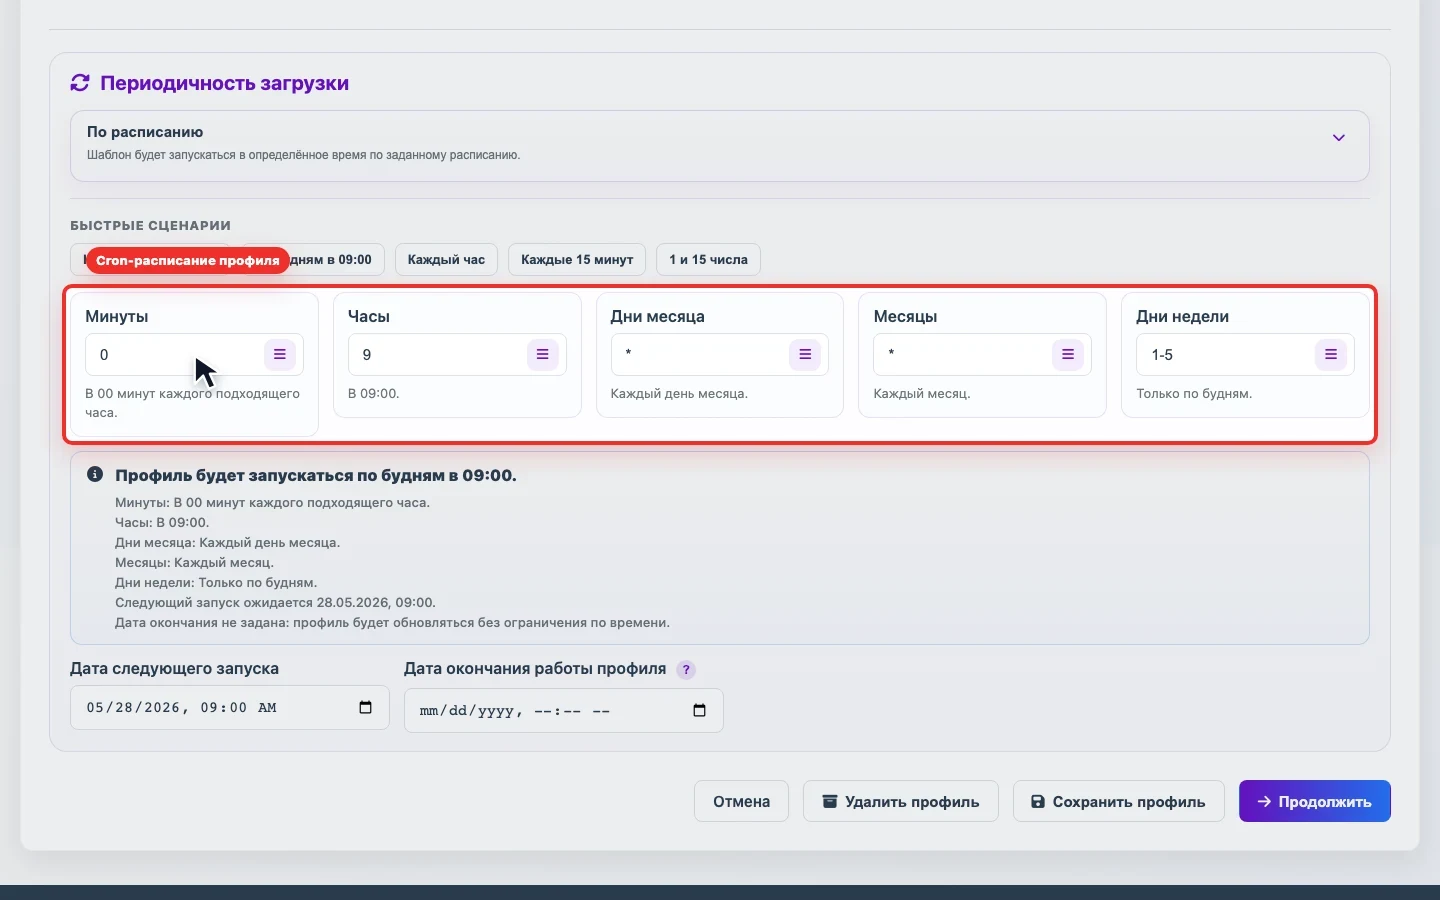
The Eofferix integration with 1C-Bitrix moves a catalog from external sources into a 1C-Bitrix site. The source can be a file, link, FTP/SFTP, Google Sheet, 1C / CommerceML exchange, XML, JSON, CSV, XLSX, YML, or a supplier export downloaded from a supplier account. A source can run manually or by schedule when this is configured in Eofferix.
Eofferix does not just send a file to the site. The service reads the data, shows it in the source structure screen, applies transformations, loading conditions, and the rules selected by the user. The module on the site remains a thin adapter: it receives prepared sections, products, offers, properties, prices, stock, images, and files, then writes them to 1C-Bitrix.
This article follows the main first-import path. Details are covered separately: module installation, profile settings, running the export, profile schedule, and source schedule.
Short Path
- Install the Eofferix module on the 1C-Bitrix site.
- Create or choose a source.
- On Template, choose 1C-Bitrix, check the site connection, choose the catalog, and set loading rules.
- On the source structure step, mark sections, products, offers, and fields.
- Run a test export.
- Run the full exchange.
- Use stop, continue, or rollback if needed.
- Enable the profile schedule if the exchange should run by itself.
1. Prepare The Site
Install the module first: installing the Eofferix module for 1C-Bitrix. After that, all export settings are handled in Eofferix.
2. Create A Source And Profile
A source is the place where Eofferix receives the catalog. In the profile, upload a new file or choose an existing source, then select 1C-Bitrix in Applications.
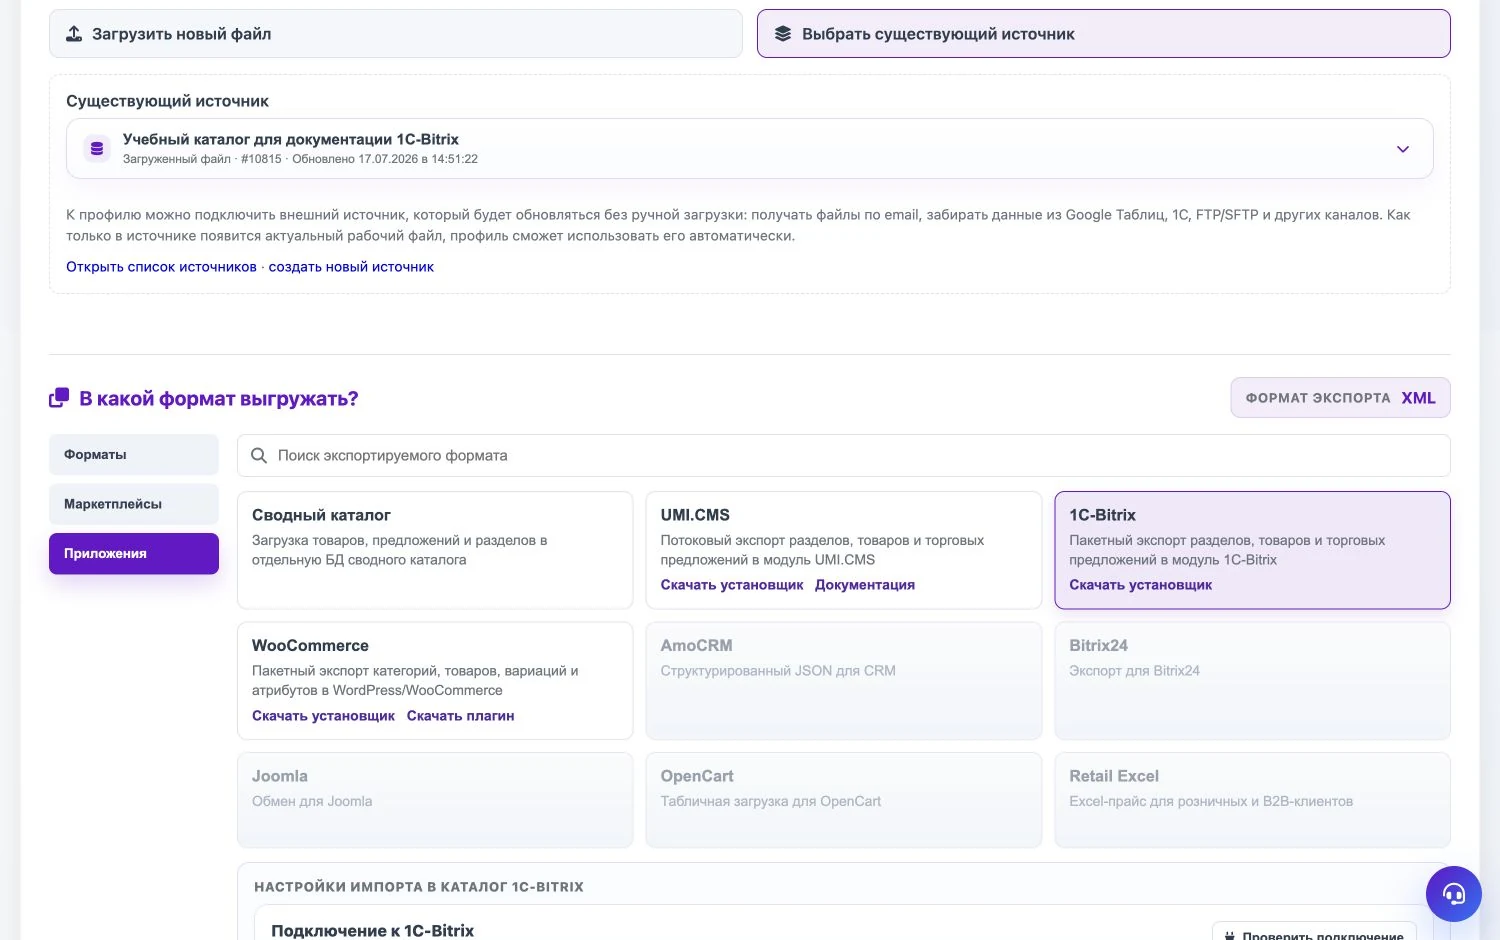
3. Configure 1C-Bitrix On Template
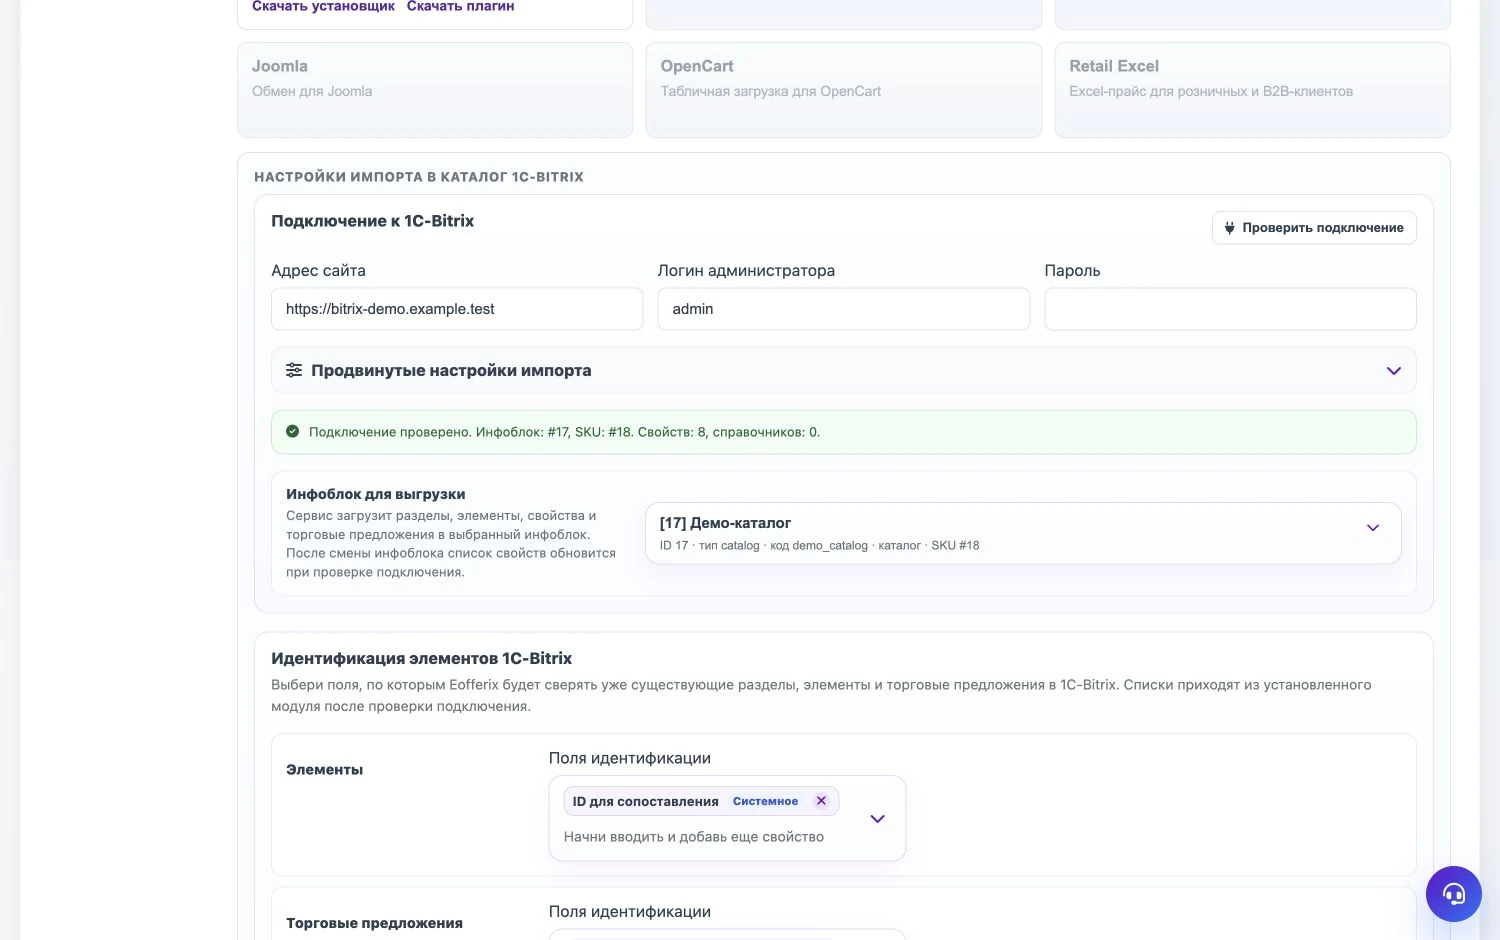
On the same Template step, enter the site address and administrator login, run the connection check, choose the Bitrix catalog, and set the loading rules. Details: 1C-Bitrix export settings.
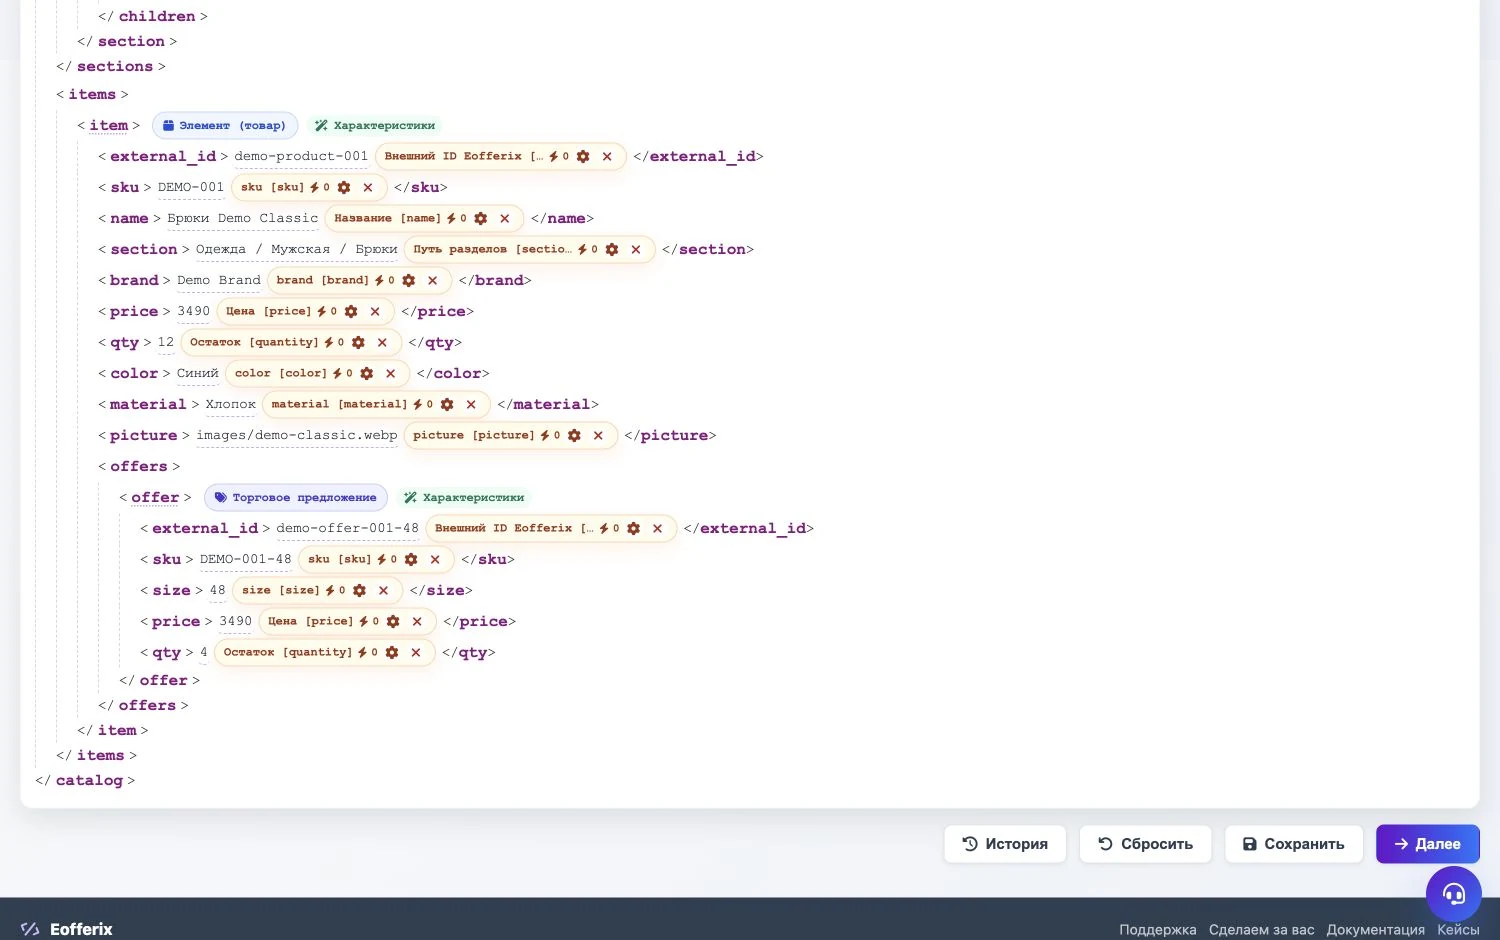
4. Mark The Source Structure
On the source structure step, mark what is a product, what is an offer, and which values should become names, prices, stock, section paths, images, and matching IDs.
5. Run A Test Export
Send a small sample first. Then check the Bitrix admin panel: products, offers, properties, sections, and images. If something is wrong, return to the source structure or Bitrix settings.
6. Run The Full Exchange
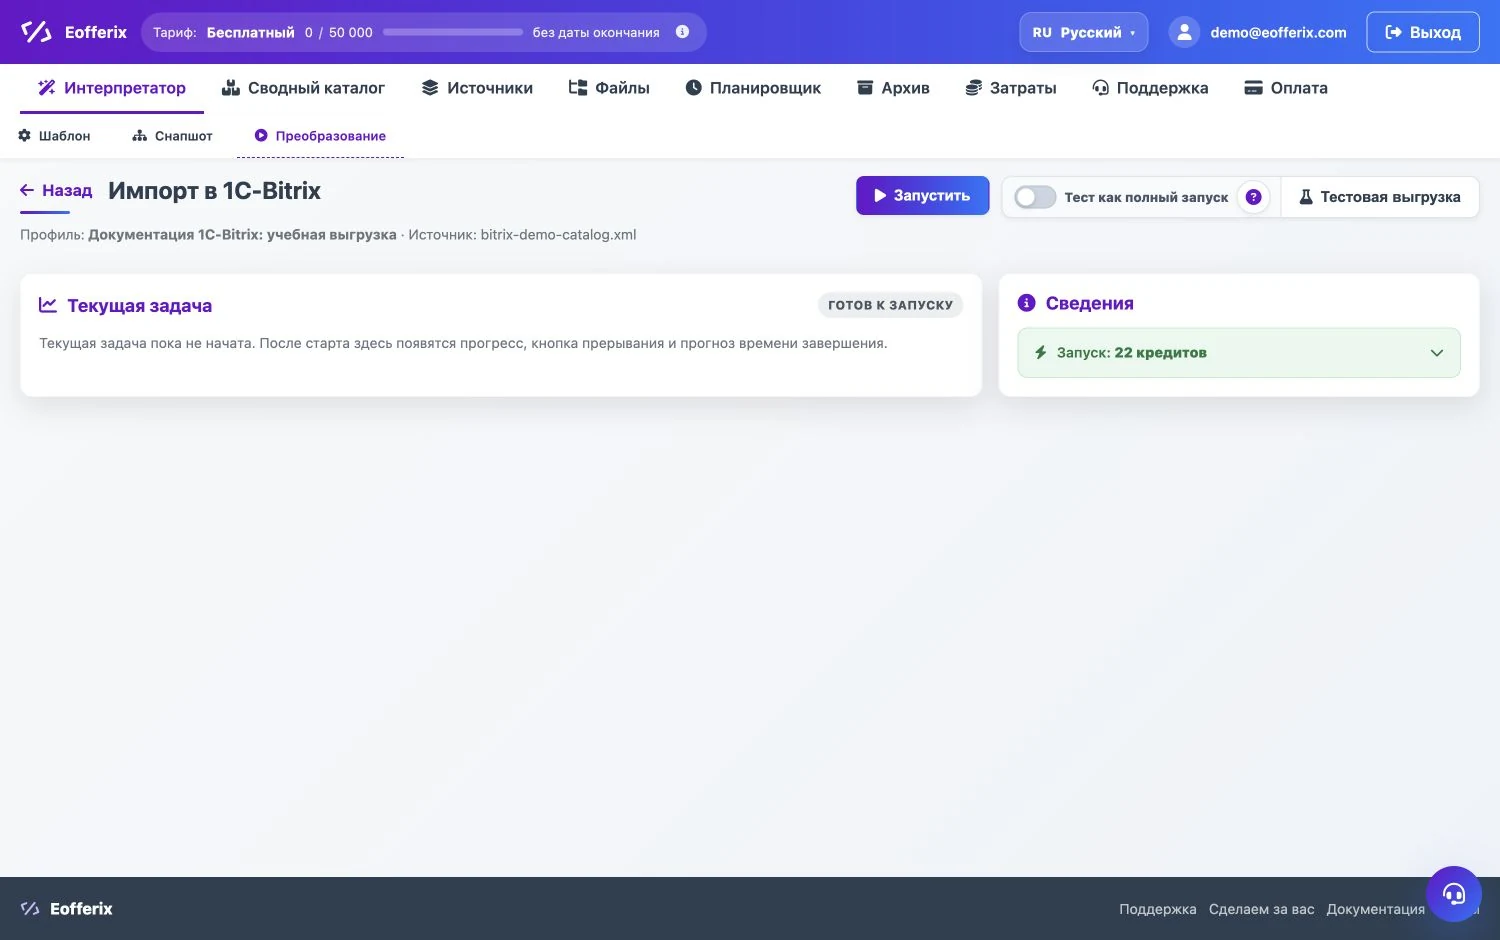
After the test looks correct, click Run. Eofferix sends a large catalog in parts and lets you stop or continue the task without creating already processed products again.
7. Stop, Continue, And Roll Back
During a full exchange, you can stop the task. After a stop or an error, the import can continue from the last confirmed point, so already processed products, offers, and sections should not be created again.
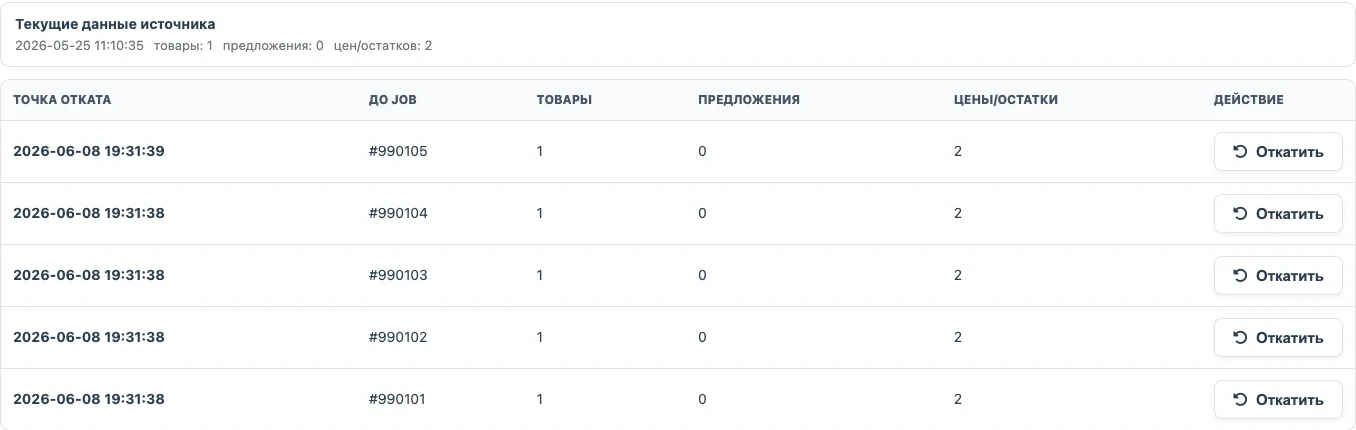
If the import result needs to be undone, use the available rollback point on the result screen. Rollback applies to the current exchange and current source; it should not remove unrelated site data.
8. Enable Regular Exchange
Open the profile block Load schedule, choose By schedule, set the time, and save the profile. If the source must also refresh itself, configure the source schedule separately.