
Eofferix export to Ozon sends a product catalog from external sources to an Ozon seller account. The source can be a file, URL, FTP/SFTP, Google spreadsheet, 1C / CommerceML exchange, XML, JSON, CSV, XLSX, YML, or a supplier export from a private account.
Eofferix does not simply forward a file. It reads the data, shows it on the preparation screen, applies value changes, export conditions, and the rules chosen by the user. Ozon receives prepared product cards, offers, prices, stock, images, and characteristics.
No website module is installed for Ozon. The user connects an Ozon seller account in the Eofferix profile, configures the template, fills fields on the preparation screen, and then runs a check or a real export. Detailed articles: Ozon connection, Ozon field selection, export launch, profile schedule and source schedule.
1. Choose the source and Ozon format
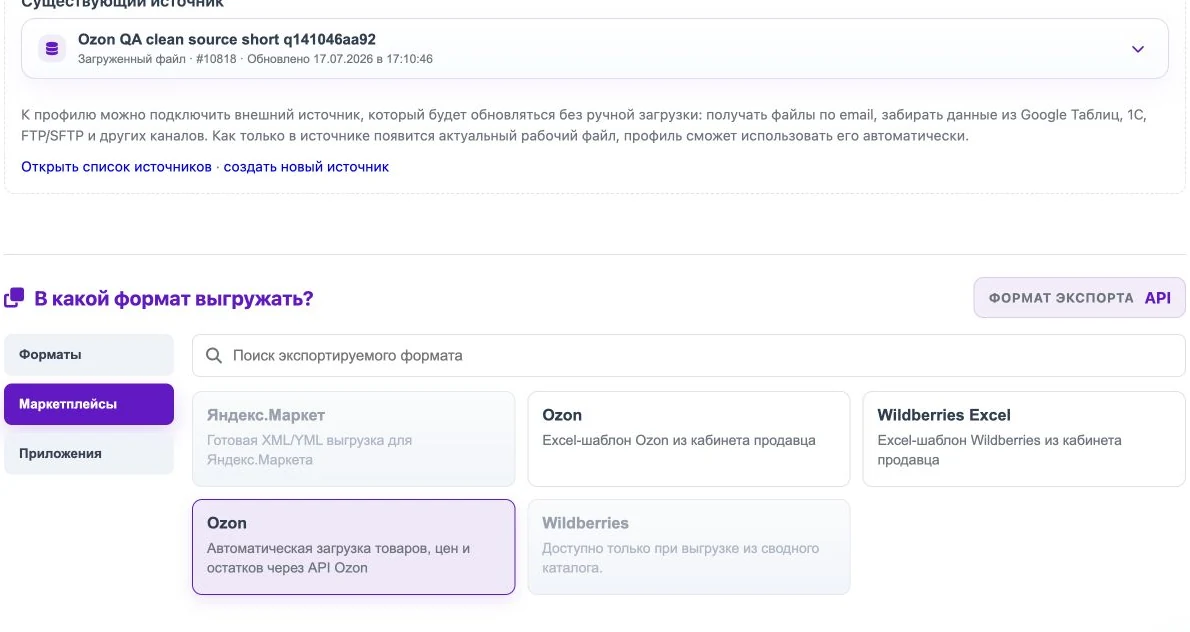
Create a profile or open an existing one. Choose a data source, then open Marketplaces in the export format block and select the automatic Ozon card.
2. Configure the profile template
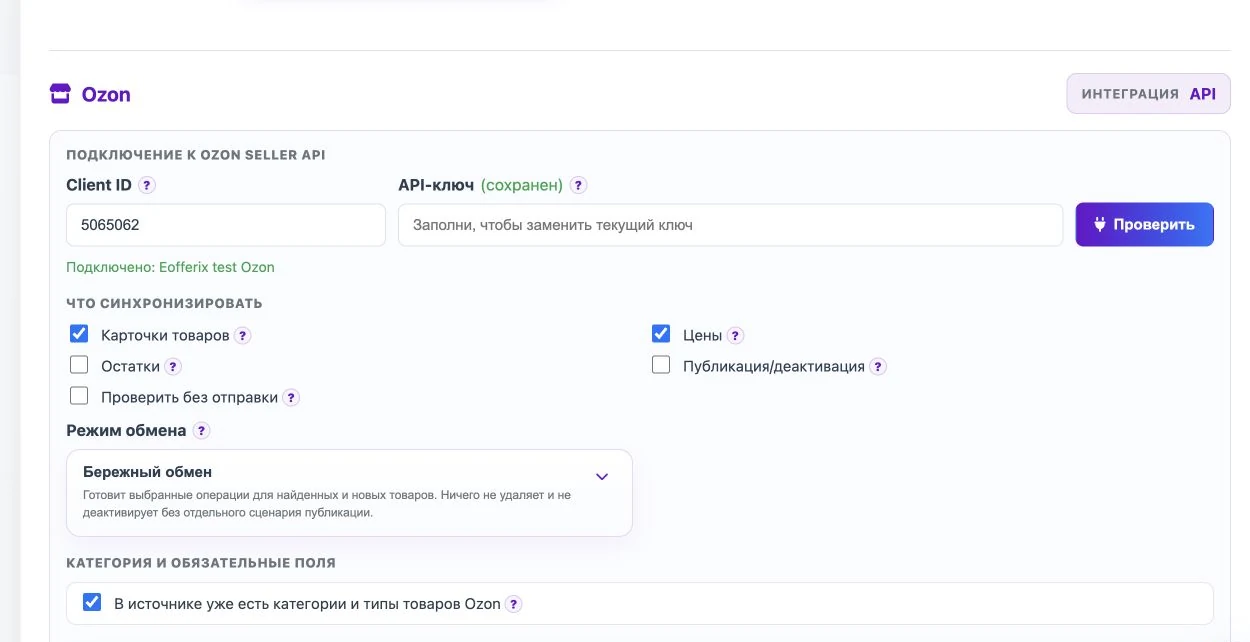
The profile template stores account connection, what to send, exchange mode, publishing action, and category settings. It does not choose the exact source column for every product.
Enter Client ID and the key from the Ozon seller account, then click Check. Choose whether to send product cards, prices, stock, or publishing actions. For the first run, enable Check without sending.
3. Choose category behavior
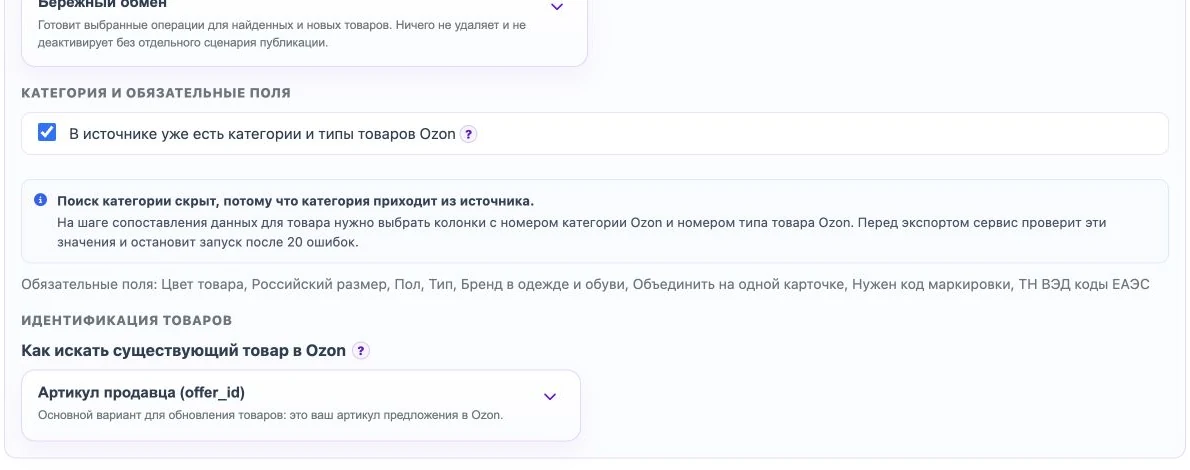
If all products belong to one Ozon category, find the category in the profile and load the required fields. If one source contains products from different Ozon categories, enable the mode where category and product type are already present in the source. Then choose those fields on the preparation screen.
4. Fill fields on the preparation screen
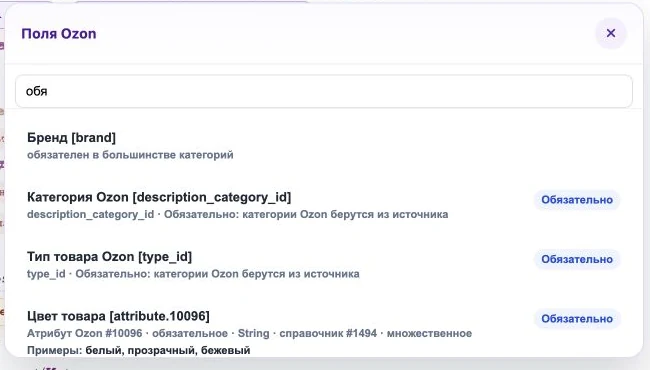
Choose Element for the shared product card and Trade offer for a specific size, color, seller SKU, price, and stock. Required Ozon fields are marked in the field list. Some characteristics also show Ozon value examples.
5. Use value changes and export conditions
If source values do not match Ozon expectations, change them near the needed field: build a name, clean a seller SKU, replace a value, normalize color, or add a description. Export conditions can skip products without image, price, or a required sign.
6. Run a check and export
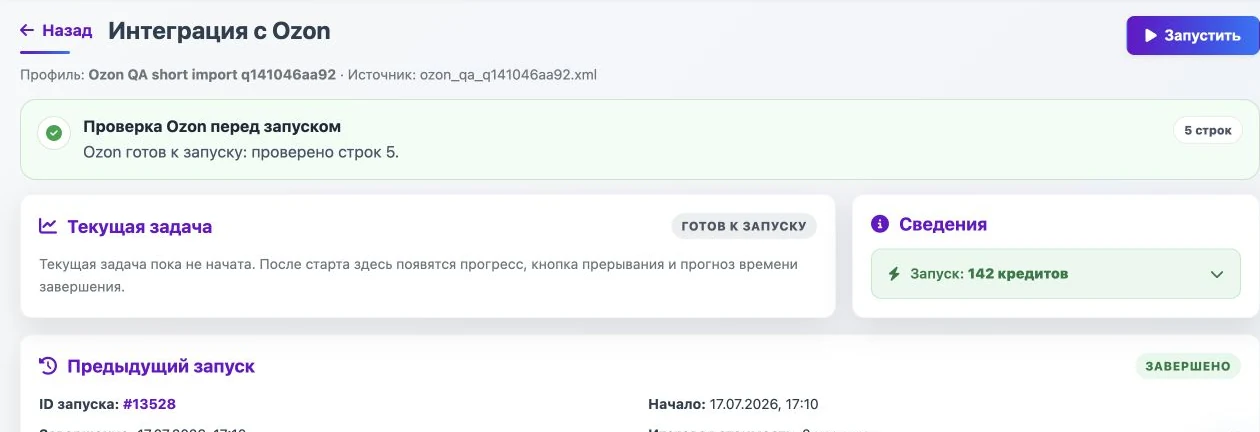
Run the Ozon check before a real export. If it passes, disable Check without sending and start the exchange. Eofferix sends only the selected parts of the catalog and shows the result of the previous run.
Before the first real run
- the Ozon account connection is checked;
- only the needed actions are enabled;
- the first run is tested without sending;
- category and product type are provided in the right place;
- product and offer roles are selected when products have variants;
- required Ozon fields are filled;
- images open, price is above zero, and seller SKU is unique for the offer.